All things Raspberry Pi and Time Lapse

Posts tagged ‘SparkFun’

Gertboard Arrived!

My gertboard arrived today! So I setup the soldering stuff and went to work on the practice board from Elenco that I bought from Amazon. And I found out real quick that the soldering iron that I have is not high enough quality. The tip did not get evenly hot which made it hard to solder. So I decided to buy a different soldering iron. I bought this one from Adafruit as they have Raspberry Pi and lots of other awesome electronics and DIY kits/parts. So I am assuming that since they say that this soldering iron is a good entry-level tool that it should be worth it. So now the only problem is waiting for that to ship…

I was looking up some instructional videos about the gertboard and came across these three from Element14.

Advice about assembly – Surface mount – Through hole

And as mentioned in this video at approximately 6:10 he says that there was only 10 jumper wires that came with the kit, and there are 12 LEDs. So there is not enough jumper cables to connect all 12 LEDs at the same time. So in addition to the soldering iron I bought a pack of these F/F jumper wires and also a pack of M/M jumper wires.  This gives me the option of creating my own M/F jumper wires by combining one of each. And these come in packs of 40 so I should have plenty!

Adafruit is a really awesome website. And Sparkfun is really amazing too!

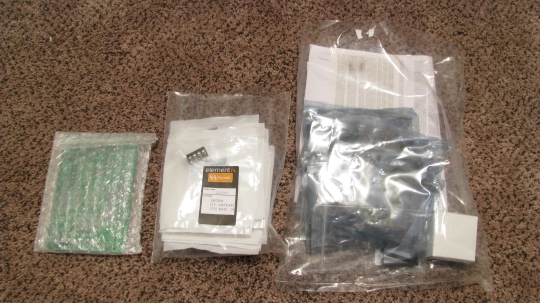
Here is a picture of what all arrived in the package from Newark. Gertboard on the left. Small components in bags in the center. And some of the bigger chips in anti-static bags on the right.

IMG_0914

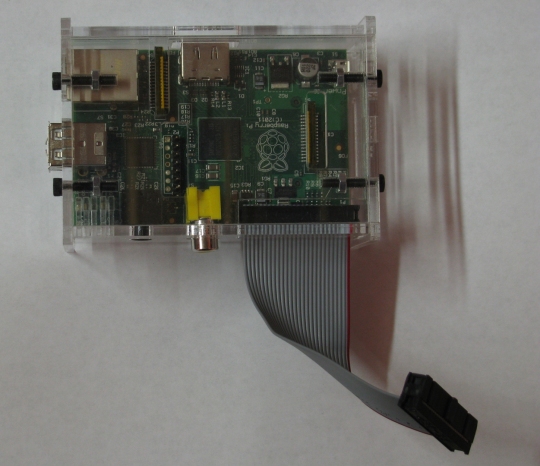
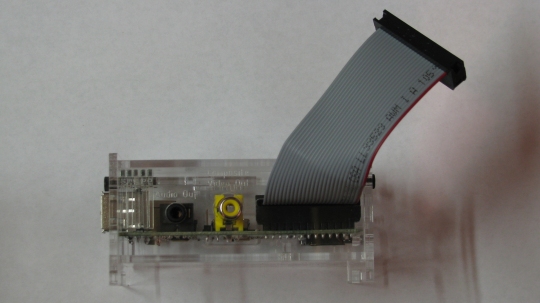
Next two images are of the GPIO cable coming out of the case that I posted about previously.

IMG_0909 IMG_0910

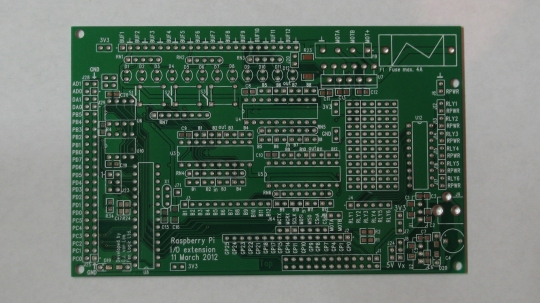
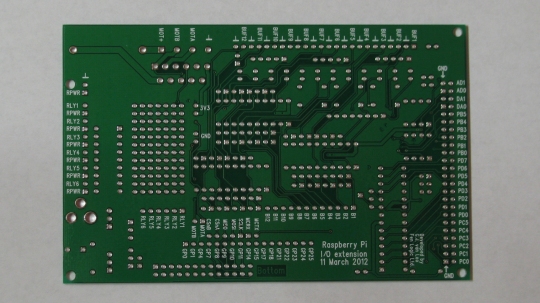
The next two images are of the bare Gertboard. First one is the top of the board, and the second is the bottom of the board.

IMG_0912 IMG_0913

Sparkfun Electronics

I was sitting around today wishing that my Gertboard was here… But its not. One of the things I am planning on doing is messing around with temperature and humidity sensors. It is possible to do this without a Gertboard, but I would like to have that hardware experience before I try anything directly on the GPIO pins. There is a very good forum discussion on the Raspberrypi site here.

There is a temperature sensor and a humidity sensor on SparkFun that look like they would work. There is also a waterproof temperature sensor on SparkFun as well. These sensors are different in that some are a 1 wire interface and others are a 2 wire interface. These sensors would be extremely helpful for the case of a timelapse camera. The current case turns the heater on at a certain temperature and the fan on at a certain temperature. This works, but I cannot change/edit that temperature. One of the major problems is humidity, especially in a greenhouse environment. If I could control the fan I could have the fan cycle every X minutes no matter what the temperature.

Currently when I need to download the pictures from the timelapse project I plug in the Ethernet cable. This works, but would not work for the v2.0 case. I am thinking of building a case similar to these here. However these cases are very expensive, and do not offer much flexibility for a Raspberry Pi and other electronics. And so I would need another way to connect to the Raspberry Pi. As mentioned on this forum/article the Edimax adapter looks like it is a good choice.

Hoping to have some more pictures, maybe a short timelapse of the project so far up soon!

Tag Cloud