LED Notification Light Box
The Hypnocube was a great project and I am very happy with it. It is amazing to just turn on and watch it! But I was never able to figure out how to program it to my own custom animations. I have not used that programming language before, and it is quite complex! Then I stumbled across this great tutorial on Instructables where it is shown how to create a project that connects to Twitter and changes color based on the “mood” that it found. The main hardware is an arduino, a shield to connect to wifi, an RGB LED, and a frosted acrylic container. This seemed like a great project, but I decided that I would use it for gmail notifications and other ideas instead. Based on this tutorial here at Adafruit I already knew how to turn on and off the LED to accomplish this using a Rasbperry Pi. And instead of building my own acrylic box I bought this one from Amazon. It came clear, so I also bought some 400 grit sandpaper. By rubbing the sandpaper in a circular path, the box soon had that “frosted” look. The instructables project was where I got the idea on how to frost the acrylic. He was frosting the sheets of acrylic before he made the box, which would have been easier to do I am sure. The tight corners made it difficult to get it totally frosted in some places. But the advantage of my box is that it doesn’t have the glue in the corners. And since it was cheap I am happy with the route that I took. And after spending some time sanding I got all of the hard to get spots enough that it doesn’t show.
The Raspberry Pi has enough pins to individually control 7 normal LEDs. So for my project that means two RGB LED’s and one more regular LED. I put the two RGB LEDs side by side then added two more white LEDs on either side to form a diamond shape. Both white LEDs are controlled together, so they are both on or both off. However since the Raspberry Pi only has one PWM pin, I would only be able to get full values of each of the color. So for example RED would be on, while GREEN and BLUE were off. Or RED and GREEN were on, but BLUE was off. Or all three were on. But I would not be able to get a mixture of those, like RED being at 40% and GREEN at 90% and BLUE at 20%. However there is some software that makes that possible. It basically turns the full values on and off really fast to simulate PWM. The link for that code is here on GitHub. So now I will be able to make any mixture of those RGB values. It works great and is very simple to use.
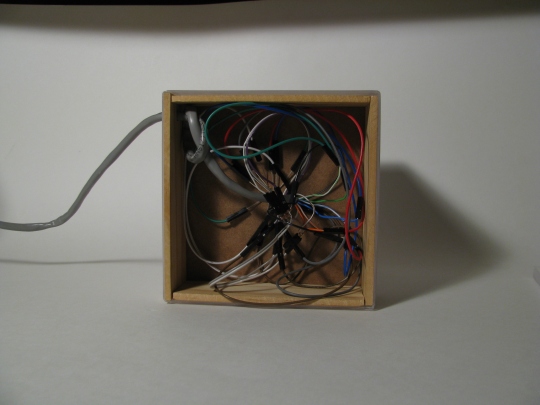
The next issue was the fact that my Adafruit breadboard wires are really short and that would look pretty terrible to have them all lose. And the LED box would have to be really close to the Raspberry Pi. Then I thought about a regular network cable and did some research on the type of wire was used in them. Turns out it is very similar to the breadboard wires. So I ask on the Raspberry Pi forum if it would work to use a network cable instead of the short breadboard wires and was told that it should work just fine. Voltage drop was the only issue mentioned as a possible problem, but after measuring it, I can say that there was no voltage drop. A regular Cat5 network cable has 8 wires. And I would be using all of them. The six pins of the RGB LEDs and the one pin for the two white LEDs would use 7 wires. That left the 8th wire to be used for ground. I used a mini breadboard to handle the resistors and the connection to the Raspberry Pi and it works better than I thought it might! So now the LED box can be a few feet away from the Raspberry Pi.
After assembling everything in the box came the time for writing the code. I started with the example from Adafruit, but changed it to suit my LED setup. So now every 5 minutes the script check to see if there is an email, and if so it flashes red and white for about 30 seconds. Another script that I worked on was to get it to fade between the three main colors. That takes about a minute to make a full cycle through the colors and looks pretty amazing.
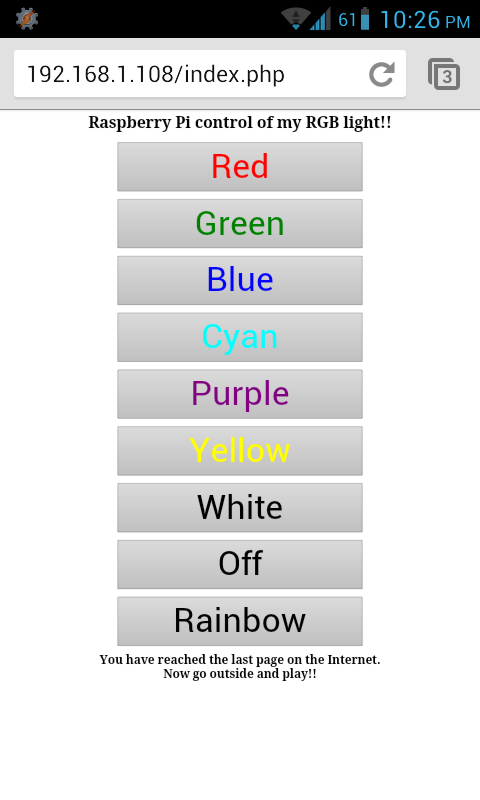
All of this was fun and awesome, but it had to be run from the command line. I decided to fix that. There is a great tutorial that explains how to install Lighttpd (A lightweight webserver) and PHP here. I just ignored the parts about MySQL as I do not need that right now. Once that was all setup and configured I wrote a simple basic webpage with a button for each of the main colors. I also added a button to turn it all off, and another to fade through all the colors – it calls the script that fades the colors . I accomplished this through a PHP page that executes the correct shell script. So now from any web enabled device that is connected to our wifi network, anyone can turn on the LED box easily and simply.
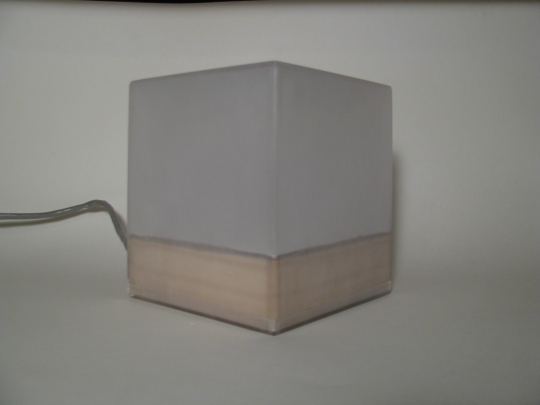
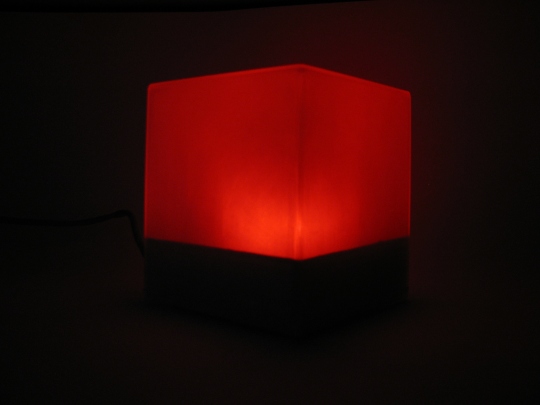
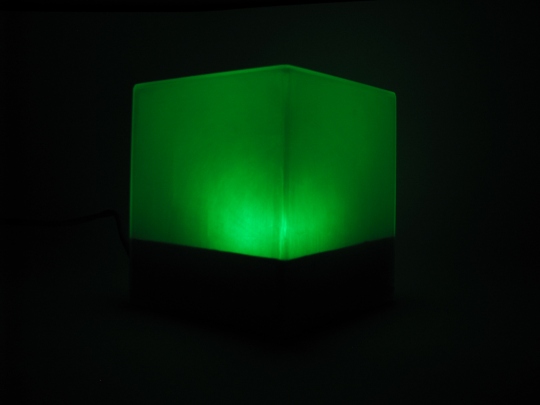
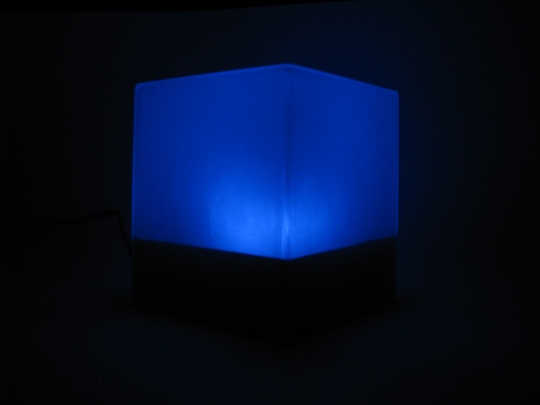
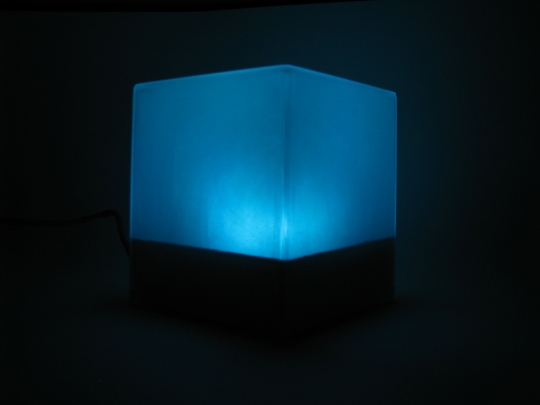
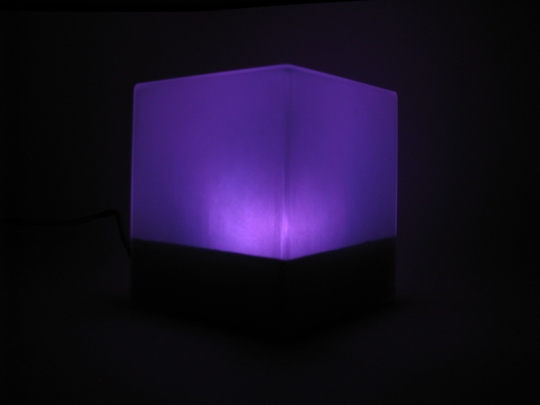
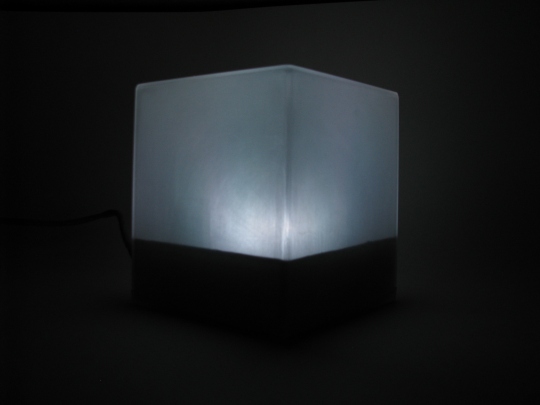
Below are some pictures showing how the box looks when lit different colors (no these are not just photoshopped to “show” the different colors) and the last one shows the wiring nightmare underneath!
And here is a quick screenshot of the web interface to control the LED box…
Anyone have any other ideas for the LED light box?


Written
on October 22, 2012