All things Raspberry Pi and Time Lapse

Archive for the ‘Arbitrary’ Category

LED Notification Light Box

The Hypnocube was a great project and I am very happy with it. It is amazing to just turn on and watch it! But I was never able to figure out how to program it to my own custom animations. I have not used that programming language before, and it is quite complex! Then I stumbled across this great tutorial on Instructables where it is shown how to create a project that connects to Twitter and changes color based on the “mood” that it found. The main hardware is an arduino, a shield to connect to wifi, an RGB LED, and a frosted acrylic container. This seemed like a great project, but I decided that I would use it for gmail notifications and other ideas instead. Based on this tutorial here at Adafruit I already knew how to turn on and off the LED to accomplish this using a Rasbperry Pi. And instead of building my own acrylic box I bought this one from Amazon. It came clear, so I also bought some 400 grit sandpaper. By rubbing the sandpaper in a circular path, the box soon had that “frosted” look. The instructables project was where I got the idea on how to frost the acrylic. He was frosting the sheets of acrylic before he made the box, which would have been easier to do I am sure. The tight corners made it difficult to get it totally frosted in some places. But the advantage of my box is that it doesn’t have the glue in the corners. And since it was cheap I am happy with the route that I took. And after spending some time sanding I got all of the hard to get spots enough that it doesn’t show.

The Raspberry Pi has enough pins to individually control 7 normal LEDs. So for my project that means two RGB LED’s and one more regular LED. I put the two RGB LEDs side by side then added two more white LEDs on either side to form a diamond shape. Both white LEDs are controlled together, so they are both on or both off. However since the Raspberry Pi only has one PWM pin, I would only be able to get full values of each of the color. So for example RED would be on, while GREEN and BLUE were off. Or RED and GREEN were on, but BLUE was off. Or all three were on. But I would not be able to get a mixture of those, like RED being at 40% and GREEN at 90% and BLUE at 20%. However there is some software that makes that possible. It basically turns the full values on and off really fast to simulate PWM. The link for that code is here on GitHub. So now I will be able to make any mixture of those RGB values. It works great and is very simple to use.

The next issue was the fact that my Adafruit breadboard wires are really short and that would look pretty terrible to have them all lose. And the LED box would have to be really close to the Raspberry Pi.  Then I thought about a regular network cable and did some research on the type of wire was used in them. Turns out it is very similar to the breadboard wires. So I ask on the Raspberry Pi forum if it would work to use a network cable instead of the short breadboard wires and was told that it should work just fine. Voltage drop was the only issue mentioned as a possible problem, but after measuring it, I can say that there was no voltage drop. A regular Cat5 network cable has 8 wires. And I would be using all of them. The six pins of the RGB LEDs and the one pin for the two white LEDs would use 7 wires. That left the 8th wire to be used for ground. I used a mini breadboard to handle the resistors and the connection to the Raspberry Pi and it works better than I thought it might! So now the LED box can be a few feet away from the Raspberry Pi.

After assembling everything in the box came the time for writing the code. I started with the example from Adafruit, but changed it to suit my LED setup. So now every 5 minutes the script check to see if there is an email, and if so it flashes red and white for about 30 seconds. Another script that I worked on was to get it to fade between the three main colors. That takes about a minute to make a full cycle through the colors and looks pretty amazing.

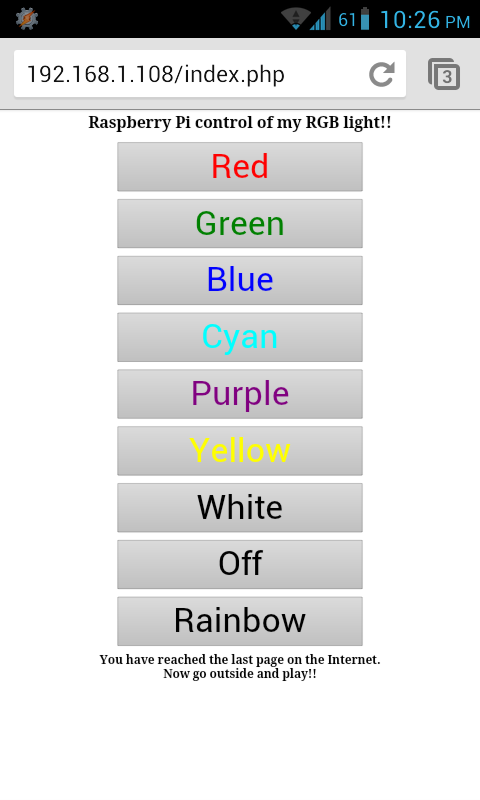
All of this was fun and awesome, but it had to be run from the command line. I decided to fix that. There is a great tutorial that explains how to install Lighttpd (A lightweight webserver) and PHP here. I just ignored the parts about MySQL as I do not need that right now. Once that was all setup and configured I wrote a simple basic webpage with a button for each of the main colors. I also added a button to turn it all off, and another to fade through all the colors – it calls the script that fades the colors . I accomplished this through a PHP page that executes the correct shell script. So now from any web enabled device that is connected to our wifi network, anyone can turn on the LED box easily and simply.

Below are some pictures showing how the box looks when lit different colors (no these are not just photoshopped to “show” the different colors) and the last one shows the wiring nightmare underneath!

IMG_9939 IMG_9943 IMG_9952 IMG_9953 IMG_9954 IMG_9955 IMG_9957 IMG_9960

And here is a quick screenshot of the web interface to control the LED box…

Screenshot_2013-03-18-22-26-15

Anyone have any other ideas for the LED light box?

Building a Gertboard

Finally edited the time lapse of building my Gertboard. It took about 4-5 hours from start to finish. I missed a small portion of soldering the header pins because the camera ran out of battery. The surface mount components were the hardest, but after that it was pretty straight forward and really fun! Here is the link to Vimeo and the Time Lapse (https://vimeo.com/56662328). After finishing the board I ran the test scripts that were written in C and it worked except for the motor controller. For some reason it would not turn the motor. Still working on figuring out what I am doing wrong there…

Finished shot of the Gertboard connected to the Raspberry Pi.

gertboard

RasPiLapse

Below is a link to the raspberrypi.org site that has an article about Rick Adam who has created a timelapse dolly for way less than a professional rig would cost. The setup uses a raspberry pi to drive the motor and take the picture. Impressive project!

http://www.raspberrypi.org/archives/2957

Raspi.tv and gertboard

There is an awesome site here at Raspi.tv where there is lots of good information regarding raspberry pi information. The page here on that site shows how to control a fan and a light from a raspberry pi. This is a project I was wanting to work on after I got a gertboard and learned more about controlling things in the physical world. Also along those lines is how he is controlling a fan from the gertboard here.

As far as the gertboard I ordered… I finally contacted Newark because the ship date has changed about 5 times (sometimes farther away, and other times to a past date) and they said that they should ship in about 2 weeks. Maybe. However, on their site the ship date is now showing Feb 2013… The good news is that I am actually getting a un-built kit. Newark is no longer selling these, but may start to offer a pre-built gertboard. It looks like a site from the UK may still offer the un-built kit, but they don’t ship to the US.

A word of caution about Newark/Element14

I recently purchased a second Raspberry Pi to use while my original one is confined to a small box taking pictures. And while I was at it I purchased a Gertboard. This board allows for interacting with physical items such as motors, buttons, and lights. And by using this separate board it protects the Raspberry pi. It is possible to interface directly with the GPIO pins on the Raspberry Pi, but if the wrong voltage is applied it is possible to fry the Pi. So the Gertboard offers a solution by protecting the Raspberry Pi.

While I was looking for the Gertboard and the Raspberry Pi I found a precision knife and some solder (the Gertboard comes as bare board and soldering is required to build the board) and these items were only a few dollars. So I added them onto the order. When I checked out it only showed me the Merchandise total (because the items were Back Ordered) so I clicked Submit. The next day I get charged over $10 for one of the $3 pieces and they had shipped it separately from the other pieces. And another item that i ordered was a Direct Ship from the UK meaning that it had a $20 shipping charge. I would think that their website would ask before charging over twice, or in the second case four times the amount for shipping as the original product. However this is not the case, and there are multiple bad reviews online saying the same thing. After getting the run around – I contacted chat, who told me to call, who told me to email – I finally got it straightened out and we got the problem resolved. Newark was nice enough to reverse the shipping charges on the small items, and the large items are still in Back Order status.

So this is a word of caution before purchasing from Newark/Element14. I am NOT saying to not order there, I am saying to be cautious about the shipping charges.

My Gertboard is not supposed to ship until October 17th. If anyone has one I would love to hear your thoughts on it!

Video

Clouds Rest Night Hike

Here is a link to my most recent time lapse video. It is of the sunrise from clouds rest in Yosemite National Park. More details in the description on Vimeo.

https://vimeo.com/45514998

HDR Time Lapse

Looking into how to process an HDR time lapse… An HDR image allows for an image that is closer to what we see in real life when done right. However they can be vastly blown out of proportion as well. Although it would require three times the number of pictures I was thinking about trying it for the year-long time lapse. There are several programs that offer a batch process mode of HDR, but none are free. The two I looked into the most was Photomatix and SNS-HDR (this website is in polish).

But since these images are coming from a low end camera, all the HDR seems to do is magnify the noise really bad in low light conditions. The results are amazing in good light however. These were shot in San Francisco at approximately 7pm.  Below is a picture that was edited with SNS-HDR, but with the trial version so it has their watermark on it. So while was a fun little exploring to figure out how to do HDR time lapse, at this point I do not think it will be worth it. (Definitely keeping it in mind however…)

There is a really good wiki page here that has many different software packages for processing HDR and the different options they each have.


Raspberry Pi Flash Drive?

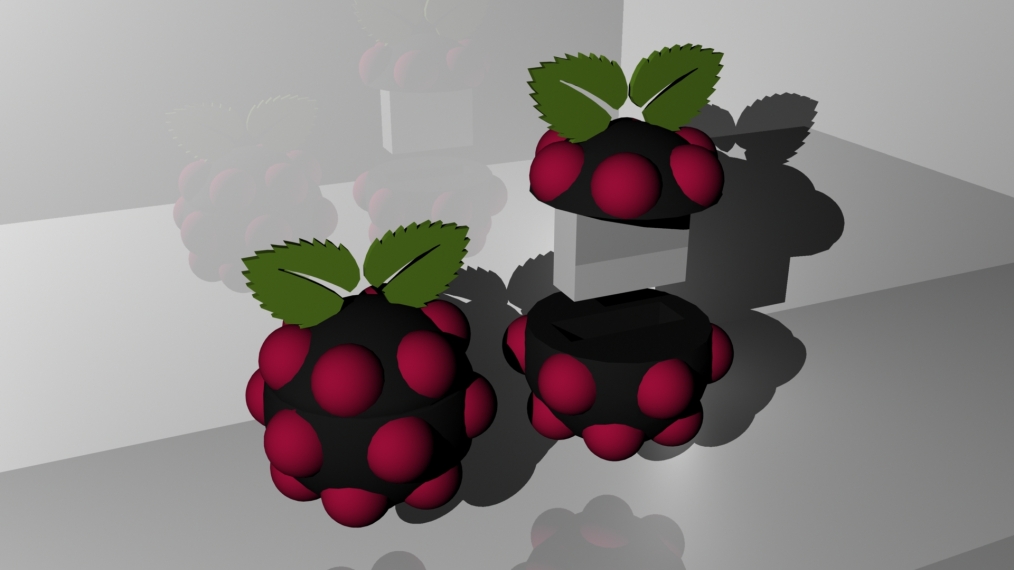
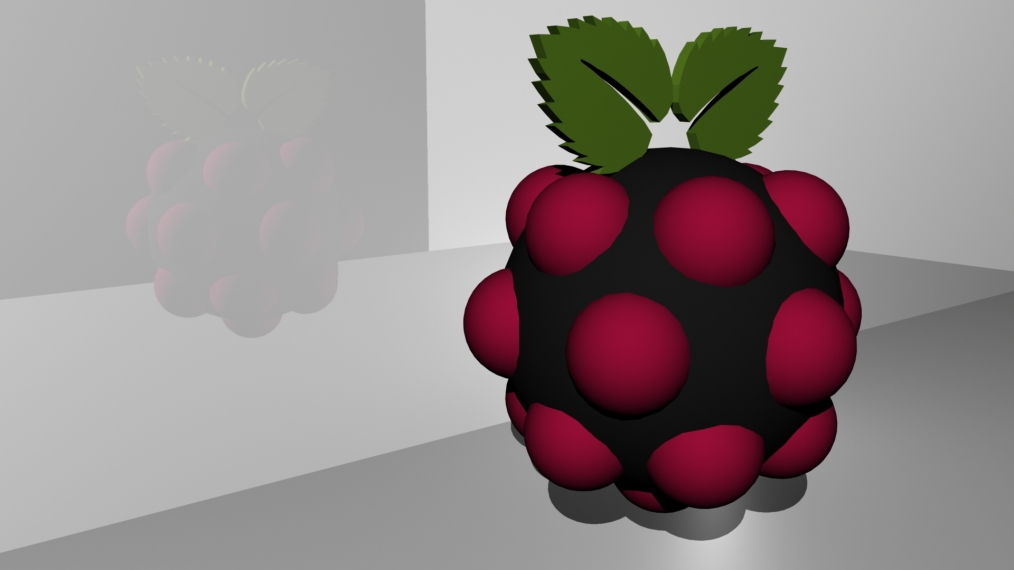
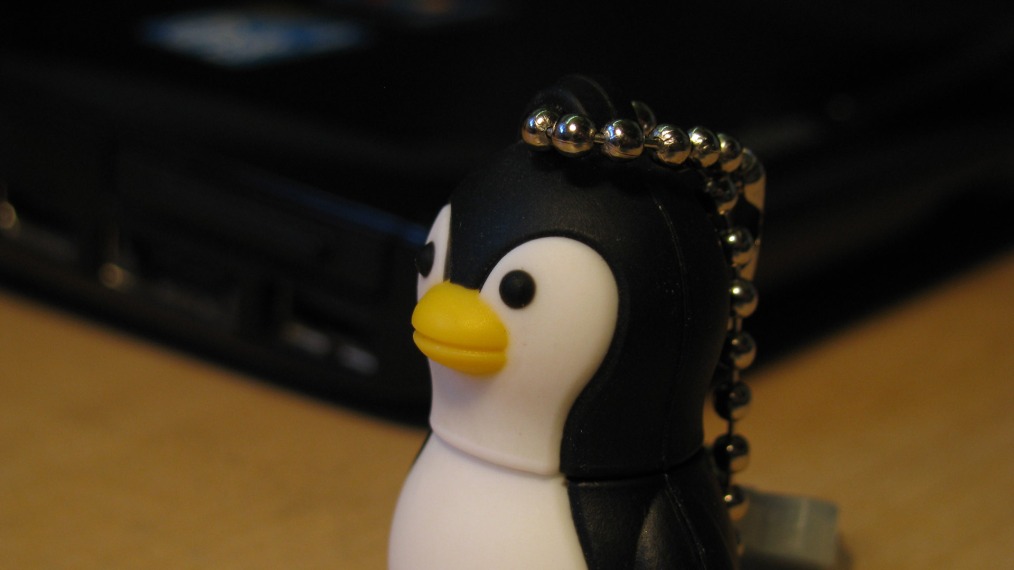
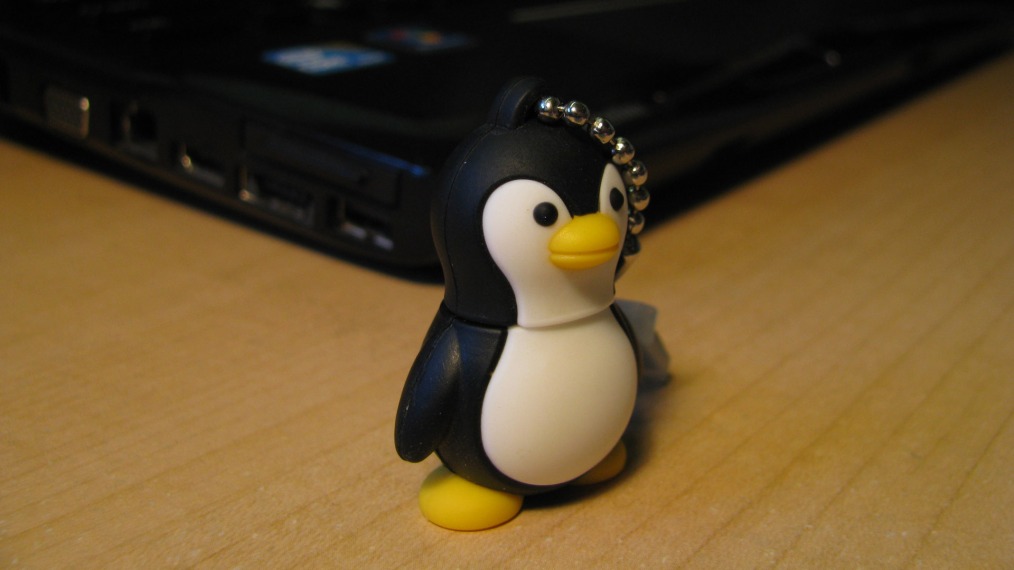
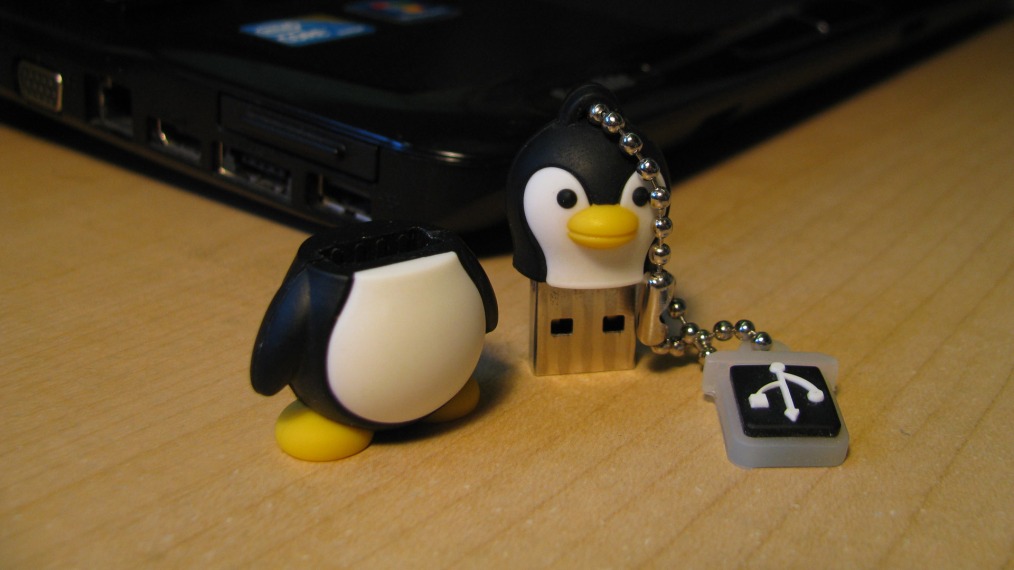
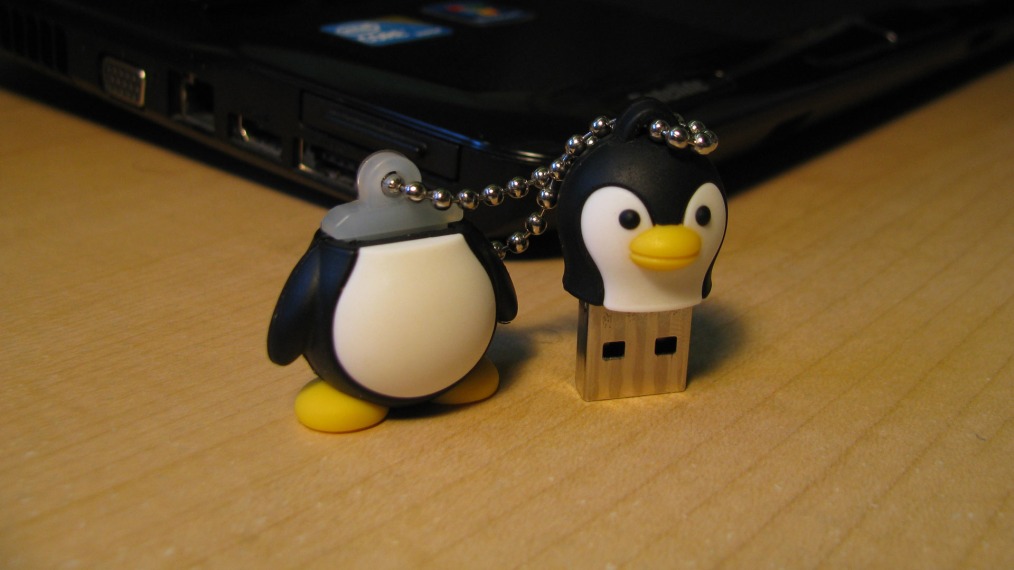
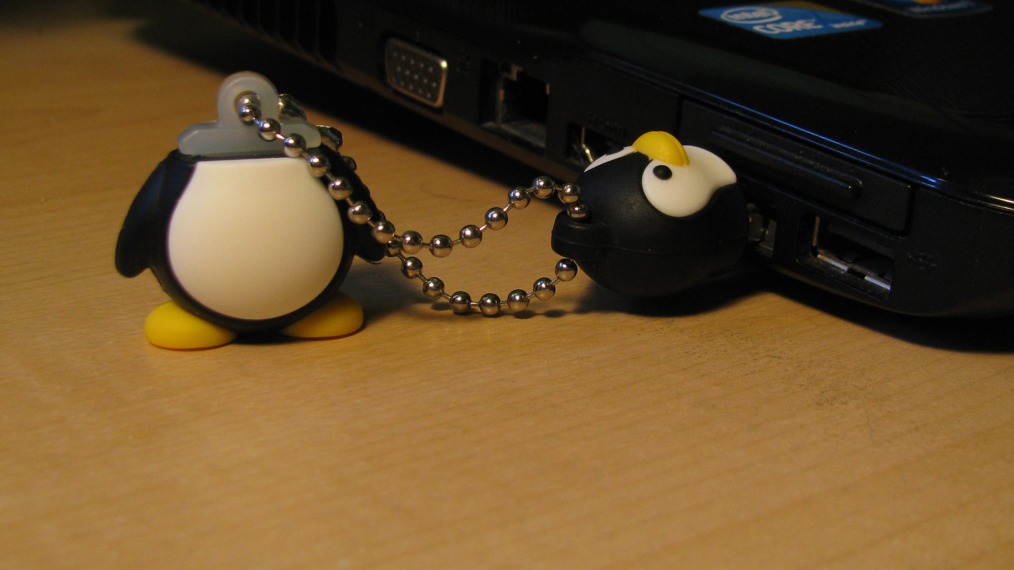
The Raspberry Pi project has plans (I think) on opening a shop selling t-shirts, mugs, caps, stickers, and little things like that. I had an idea about another item they could sell. Flash drives shaped like the Raspberry Pi logo. What gave me the idea is that I have a penguin – looks like Tux, the Linux penguin – and it is a 4GB flash drive. So that gave me the idea about a Raspberry Pi flash drive. I created one in Autodesk Maya, but it did not turn out that great. Here are some pictures of what I created.

ImageImage

These next pictures show my penguin Flash Drive. The penguin flash drive is made by a company named Emtec. It is a really neat design that the little white thing on the key chain works as a holder for the cap when the flash drive is in use.

ImageImageImageImageImage

I would definitely buy a Raspberry Pi flash drive. What about you?

Link

Kids and their Raspberry Pis

Kids and their Raspberry Pis

Getting children programming is really what the Raspberry Pi project is all about. This post on their website shows pictures of children using a Raspberry Pi, some programming and some actually learning how to put Debian on an SD card to boot the Raspberry Pi. Congratulations to the Raspberry Pi team, those children in the pictures, and children (of all ages) around the world! 

Raspberry Pi Wallpaper

Whenever my RaspberryPi comes, I was thinking that I needed a cool wallpaper for it! While it is performing its duty for the time lapse it will not matter as I wont be seeing the desktop much, but for testing I thought it would be cool to have a relevant wallpaper.

Here is a wallpaper that I designed using the standard Raspberry Pi logo then some tweaking in Photoshop!

The next two are not mine but are ones that I thought are neat are available for download at this raspberrypi forum along with many other variations.

Tag Cloud